Creating the die-cutting contour correctly
In order to properly execute a print job for labels, folding boxes, shipping cartons or other packaging products, our pre-press team needs a die-cutting contour. Most of the time, this is already created directly by the customer, but it still happens from time to time that the die-cutting contour is missing.
- Our pre-press department will be happy to create the die-cutting contour for you.
However, if you would like to try it yourself, you can see our simple tutorial on how to add the punching contour here.
By the way:
You can find out which other things you should consider when creating print data on this page: Print data and data check by clicking on a product of your choice.
Define die-cutting contour with Adobe InDesgin
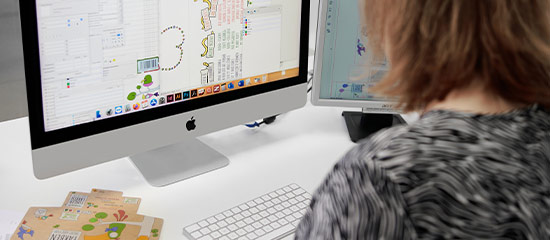
 To give the labels their shape, be it rounded corners or fancy shapes, the die-cutting form must also be created in the file. In our example we work with Adobe InDesign.
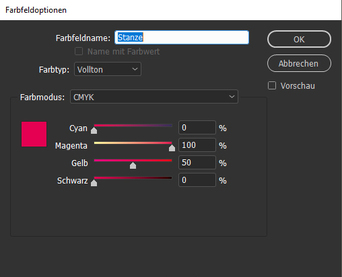
First we open our label to be printed. There we draw the contour that will later become the edge of the label. This is also where our machine die-cuts. Now we create a new colour, which we call " die cut" and which will have the following colour settings:
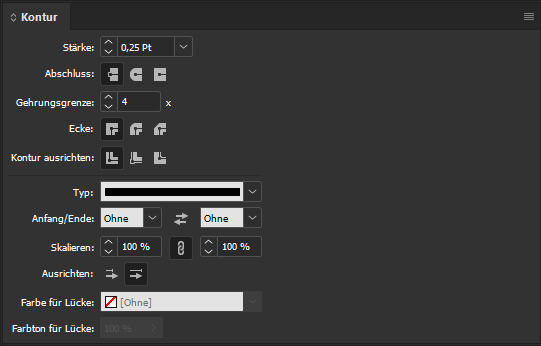
Now we give the die-cutter an outline thickness of 0.25 pt.
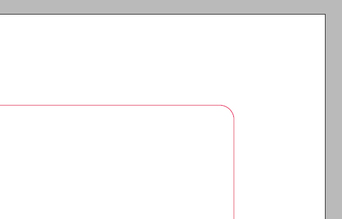
It is now on top of the actual label. If we have a label with a falling edge, the background of the label runs over the punch. This avoids a so-called "flash". A "flash" occurs when the background ends exactly on the die-cutting contour. In this case, minimal deviations can result in an unsightly white border, which we can avoid by printing with the border falling away. The whole thing is called "bleed" and should be applied to 2 mm all around.
 Finally, we check the box "Overprint contour" under the menu item "Attributes". Then we save the whole thing as a high-resolution PDF (PDF/X-3). And that's it!
Good luck with creating die cutting contours!
When you order packaging of all kinds, the Labelprint24 team can also prepare the print data for you - contact us. When you select the Pro data check, we determine exactly which factors need to be improved.
These articles might also interest you:

Checklist for a stress-free move
"Moving stress-free" may sound almost impossible, but it is definitely doable. With a good mix of planning, structure and the right materials, any move can be managed.;
Not all black is the same
The print experts at labelprint24 give you tips and assistance in our article on the correct layout of your artwork; today: the black layout.

Always trouble with the DPI's?
"Dear customer, unfortunately your artwork cannot be used, the resolution of images and graphics should always be at least 300 dpi." What went wrong?…



 Roll labels request form
  Booklet labels request form
  Folding boxes request form
  Custom made shipping boxes request form
  Package leaflets request form
  Laminate tubes request form


 To give the labels their shape, be it rounded corners or fancy shapes, the die-cutting form must also be created in the file. In our example we work with Adobe InDesign.

 Finally, we check the box "Overprint contour" under the menu item "Attributes". Then we save the whole thing as a high-resolution PDF (PDF/X-3). And that's it!


